Looking to add a sturdy boundary around your property without breaking the bank? You’re in the right place! At Savannah Gate & Fence, we understand that finding the perfect solution for your fencing needs can be daunting. That’s why we’ve created this comprehensive DIY Guide to Installing a Chain Link Fence for homeowners like you in Savannah, GA, and the surrounding areas. Let us guide you through a fun and informative journey to achieving the perfect fence.
Contents
Understanding Chain Link Fencing
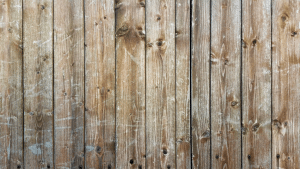
Let’s start by understanding the basics of chain link fencing. It’s not just a practical solution but also an affordable one, making it a popular choice for homeowners. Chain link fences provide excellent security without blocking the view, allowing you to keep an eye on your surroundings.
Chain link fencing is typically made from galvanized steel, which resists rust and is easy to install. It’s a versatile option if you’re looking to define property boundaries, create pet enclosures, or secure your yard. Keep reading as we delve into the specifics of installation and maintenance.
Gathering Materials and Tools
To kick off your DIY project, you’ll need to gather the necessary materials and tools. This ensures the installation process goes smoothly, saving you time and effort.
Start with purchasing the chain link mesh, fence posts, top rails, and tension bars. Don’t forget the nuts, bolts, and tie wires to assemble everything together. As for tools, you’ll need a post hole digger, pliers, a wrench, and a level to ensure everything is perfectly aligned.
Planning Your Fence Layout
A successful project begins with a solid plan. Start by marking your property boundaries to determine where the fence will run. It’s crucial to adhere to local zoning laws and regulations, so check with your local authorities.
Measure the total distance for your fence and decide on gate placements, ensuring there’s enough clearance. With this planning, you’ll have a clear vision of your final product, making the installation process much easier.
Setting the Fence Posts
With your layout planned, it’s time to set the fence posts. This step is crucial for stability, so take your time to get it right.
Begin by digging holes for the posts. Ensure they’re deep enough to provide stability, usually about 2 feet deep. Place the posts and use a level to make sure they’re upright. Then, fill the holes with concrete and let them set for a day or two for maximum sturdiness.
Attaching the Top Rail
Once your posts are set, the next step is installing the top rail. The top rail will connect all of your posts and provide overall structure to your fence.
Secure the top rail to the posts using rail ends and tension bands. Make sure the rail is level across all posts to maintain an even appearance. This frame will support the chain link mesh and ensure your fence is straight and sturdy.
Installing the Chain Link Mesh
Now, let’s bring it all together by installing the chain link mesh. This part of the process is where the fence truly takes shape.
Unroll the chain link mesh along the length of the fence. Starting at one end, attach the mesh to the posts using tension bars and securing them with tie wires. Make your way down the fence, ensuring the mesh is taut and free of any slack.
Securing the Fence
This step ensures that your fence remains in place and stands firm against the elements. Secure the bottom of the mesh using additional tie wires, attaching it to the bottom rail or to tension wire for added stability.
Double-check all connection points, tightening nuts and bolts where necessary. This attention to detail prevents any weak spots in the fence, enhancing the overall lifespan of your installation.
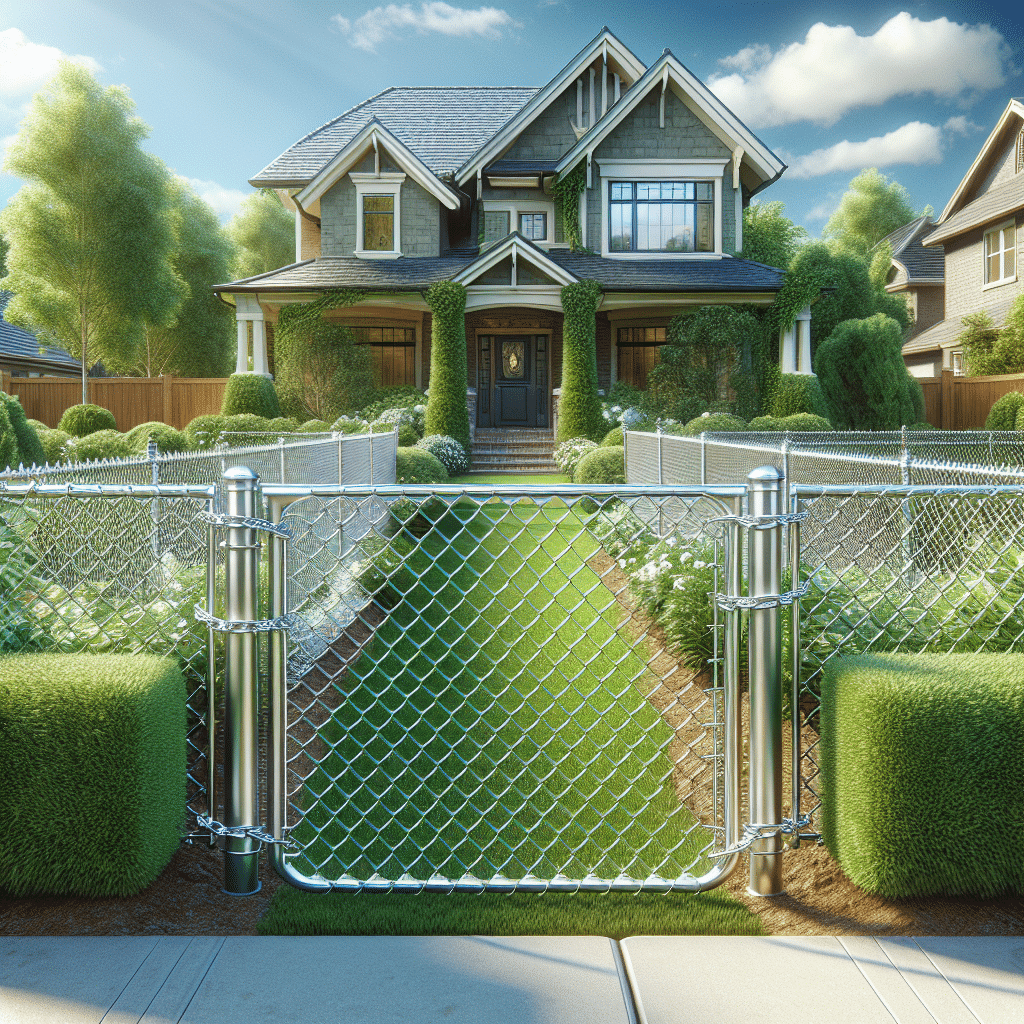
Adding a Gate
A fence is only complete when you add an entry point. Installing a gate is a critical step, allowing easy access to your fenced area.
Position your gate, ensuring it aligns with the rest of the fence for seamless operation. Attach the gate hinges to the designated posts and test for smooth operation. Secure it with a latch to provide both security and convenience.
Maintenance Tips
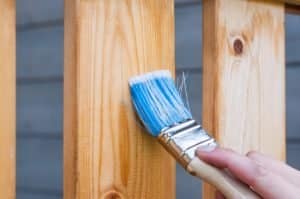
Keep your chain link fence in top shape with these maintenance tips. Regular care extends its lifespan and maintains its functionality.
- Inspect Regularly: Periodically check for any damage or wear, addressing issues promptly to prevent larger problems.
- Clean with Ease: Use a mild detergent and water to wash away dirt and grime, keeping your fence looking fresh.
- Lubricate Moving Parts: Apply lubricant to hinges and latches to ensure they operate smoothly.
- Check for Rust: Although galvanized steel is rust-resistant, keeping an eye out for rust spots helps maintain this advantage.
- Tighten Loose Components: Regularly check and tighten any loose nuts, bolts, or wires to keep your fence secure.
Enjoy Your New Fence
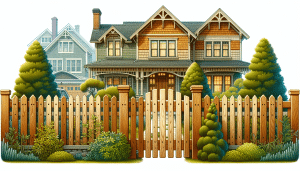
Congratulations on installing your own chain link fence! It’s not just a boundary; it’s a reflection of your hard work and dedication. Don’t forget to step back and admire your accomplishment.
In addition to providing security and privacy, your new fence adds to the overall aesthetic of your property. You’ve taken a big step in enhancing your home’s environment, and it’s worth celebrating.
Contact Us for Help
If you ever find yourself needing assistance or have questions along the way, Savannah Gate & Fence is here to help. Our team is just a call away and ready to support you by phone at 912-800-0818 or you can Request a Free Quote.