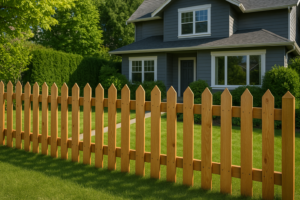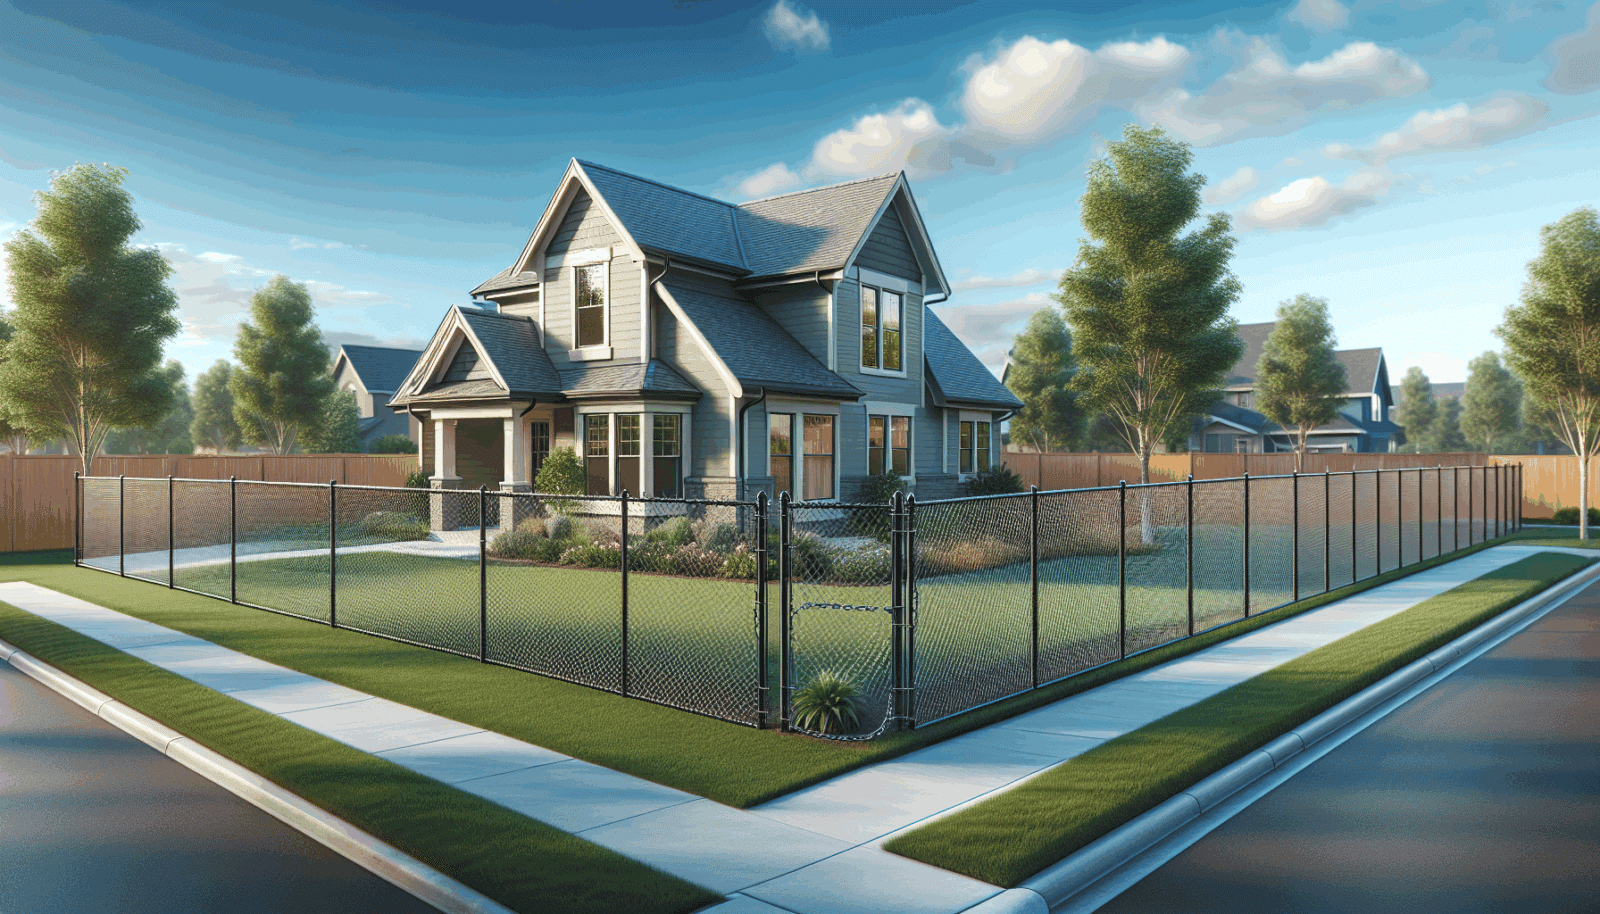
If you’re a homeowner considering enhancing the security and aesthetic of your yard, installing a Residential Chain Link fence can be an excellent choice. Here at Savannah Gate & Fence, we know just how daunting the task might seem, especially if you’re planning to do it yourself. But fear not, because we’ve compiled this comprehensive guide to help you through every step of the process. Whether you’re looking for durability, cost-efficiency, or just an effective boundary, this article will be your go-to resource.
Contents
- 1 Understanding Chain Link Fence Benefits
- 2 Tools and Materials You’ll Need
- 3 Planning Your Fence Layout
- 4 Setting the Corner, End, and Gate Posts
- 5 Installing Line Posts
- 6 Attaching Top Rails and Tension Bands
- 7 Unrolling and Securing Chain Link Fabric
- 8 Installing Gates
- 9 Finalizing Your Fence
- 10 Maintaining Your Chain Link Fence
Understanding Chain Link Fence Benefits
Chain link fences are a popular choice for many homeowners, and it’s easy to see why. They’re not only budget-friendly but also incredibly durable, providing security and reducing maintenance worries. Chain link fences allow visibility, so you can easily keep an eye on your property’s surroundings. Moreover, they’re versatile and adaptable to various property sizes and shapes, making them a flexible option for fencing needs.
Another significant advantage of chain link fences is their easy installation. Although it may require some effort, the process is straightforward, and we’ll guide you through it in this blog post. Chain link fences also offer customization, enabling you to add privacy slats or apply a colored coating to match your home’s aesthetic. By the end of this guide, you’ll understand why chain link fences are a fantastic choice for securing your property.
Tools and Materials You’ll Need
Before diving into the installation, it’s crucial to gather all necessary tools and materials. Having everything ready will make the process smoother and more efficient. Here’s what you’ll need:
Start with essential tools such as a post-hole digger, shovel, and fence puller. You’ll also need a wrench, pliers, and wire cutters for handling the chain link fabric and ties. Investing in a level and measuring tape is crucial to ensure your fence is straight and accurately aligned.
The materials list includes concrete mix for setting the posts, terminal and line posts, top rails, and the chain link fabric itself. Don’t forget the caps for posts, tension bars, and bands, as well as fence ties for securing the fabric to the structure. With these tools and materials at your disposal, you’re well-prepared to begin the installation process.
Planning Your Fence Layout
Effective planning is a big part of any successful fencing project. Start by outlining the exact area where you want your fence to go. Use stakes and twine to map out the boundary, ensuring you accurately mark your property line to avoid any disputes with neighbors.
Once your layout is defined, measure the total linear footage of your planned fence. This measurement will determine how much material you’ll need. Decide where you’ll position Gates and make note of any obstacles such as trees or utility lines, which might require special attention during installation. This thorough planning step will save you time and trouble as you move forward.
Setting the Corner, End, and Gate Posts
Installation begins with the all-important posts. Begin by digging holes for your corner, end, and gate posts, which will provide the primary support for your fence. Typically, these posts should be about 2 feet deep but check local guidelines to make sure.
Support these posts with a sturdy concrete base. Mix the concrete and pour it around the post, ensuring it’s level and standing straight. Allow time for the concrete to set completely before moving on to the next steps. Properly installed corner and end posts are crucial for the overall stability and strength of your chain link fence.
Installing Line Posts
With your corner posts secured, it’s time to position the line posts. Measure the distance between your corner posts and divide it by 10 feet to find how many line posts are needed. These posts usually stand at intervals of 8-10 feet.
Dig holes for the line posts similar to the corner posts, ensuring they are evenly spaced and aligned correctly with your boundary line. Again, after ensuring they are all plumb, anchor them with concrete. Accuracy and alignment here are essential; any miscalculations could lead to a crooked fence.
Attaching Top Rails and Tension Bands
Once your posts are set, it’s time to connect them with top rails. These provide additional rigidity to your fence. Insert the top rails through the loops on the post caps from one end post to another, ensuring a tight fit.
Simultaneously, attach tension bands to the terminal posts. These bands are the connection point where the chain link fabric will be secured. They should be spaced evenly, ensuring your chain link is taut and uniform once installed. This step is crucial for a smooth-running fence line.
Unrolling and Securing Chain Link Fabric
The real face of your fence comes in the form of chain link fabric. Start at one corner post, unrolling the fabric along the exterior of your layout. Ensure the links are properly aligned with the rail.
Attach one end of the fabric to a terminal post using tension bars and bands. Pull the fabric taut using a fence puller around the next section of posts. Secure the fabric to each line post with wire ties, ensuring the fence maintains a consistent height and tension from start to finish. This careful step provides both durability and aesthetics to your fence.
Installing Gates
Don’t forget the importance of gates; they’re your entry and exit points. Measure the gate opening width, ensuring it fits snugly within the space between gate posts. The gate frame should be robust, matching the height and material style of your fence.
Attach the hinges and latch to the gate and posts, adjusting the gate to swing open freely without obstruction. Make sure the gate aligns with the rest of your fence in both height and tension. A well-installed gate complements the overall functionality of your chain link fence.
Finalizing Your Fence
Now it’s time to dot your I’s and cross your T’s. Walk the perimeter of your newly installed fence to ensure every part is securely fastened, and correct any loose ties or sagging fabric. Pay special attention to any obstructions or issues with tension that could affect the fence’s longevity.
If you’ve installed a coated or slatted fence, verify the coverage is even and satisfactory. This final touches step is pivotal in delivering a fence that not only meets security needs but also enhances your property’s style.
- Check Post Levels: Make sure each post is perfectly vertical to prevent leaning over time.
- Confirm Gate Functionality: Open and close the gate several times to ensure it swings smoothly and latches properly.
- Secure Loose Ties: Walk the fence line to find and fasten any unsecured ties or connections.
- Inspect for Sagging: Look for any sagging sections in the chain link fabric and adjust tension accordingly.
- Evaluate Aesthetic Finish: Review the appearance and uniformity of the fence, making adjustments for a clean, professional look.
Maintaining Your Chain Link Fence
After installation, maintenance is key to extending your fence’s lifespan. Regularly inspect your fence for any signs of damage or rust, which can compromise its integrity. If you notice any issues, address them promptly to prevent further deterioration.
Additionally, clean the fence periodically to remove dirt and debris that may accumulate over time. This not only improves the fence’s appearance but also reduces potential damage. With minimal maintenance, your chain link fence should remain a sturdy and reliable boundary for years to come.
Choose Savannah Gate & Fence for assistance, or if you prefer the pros to handle the installation, Contact Us by phone at 912-800-0818 or Request a Free Quote.