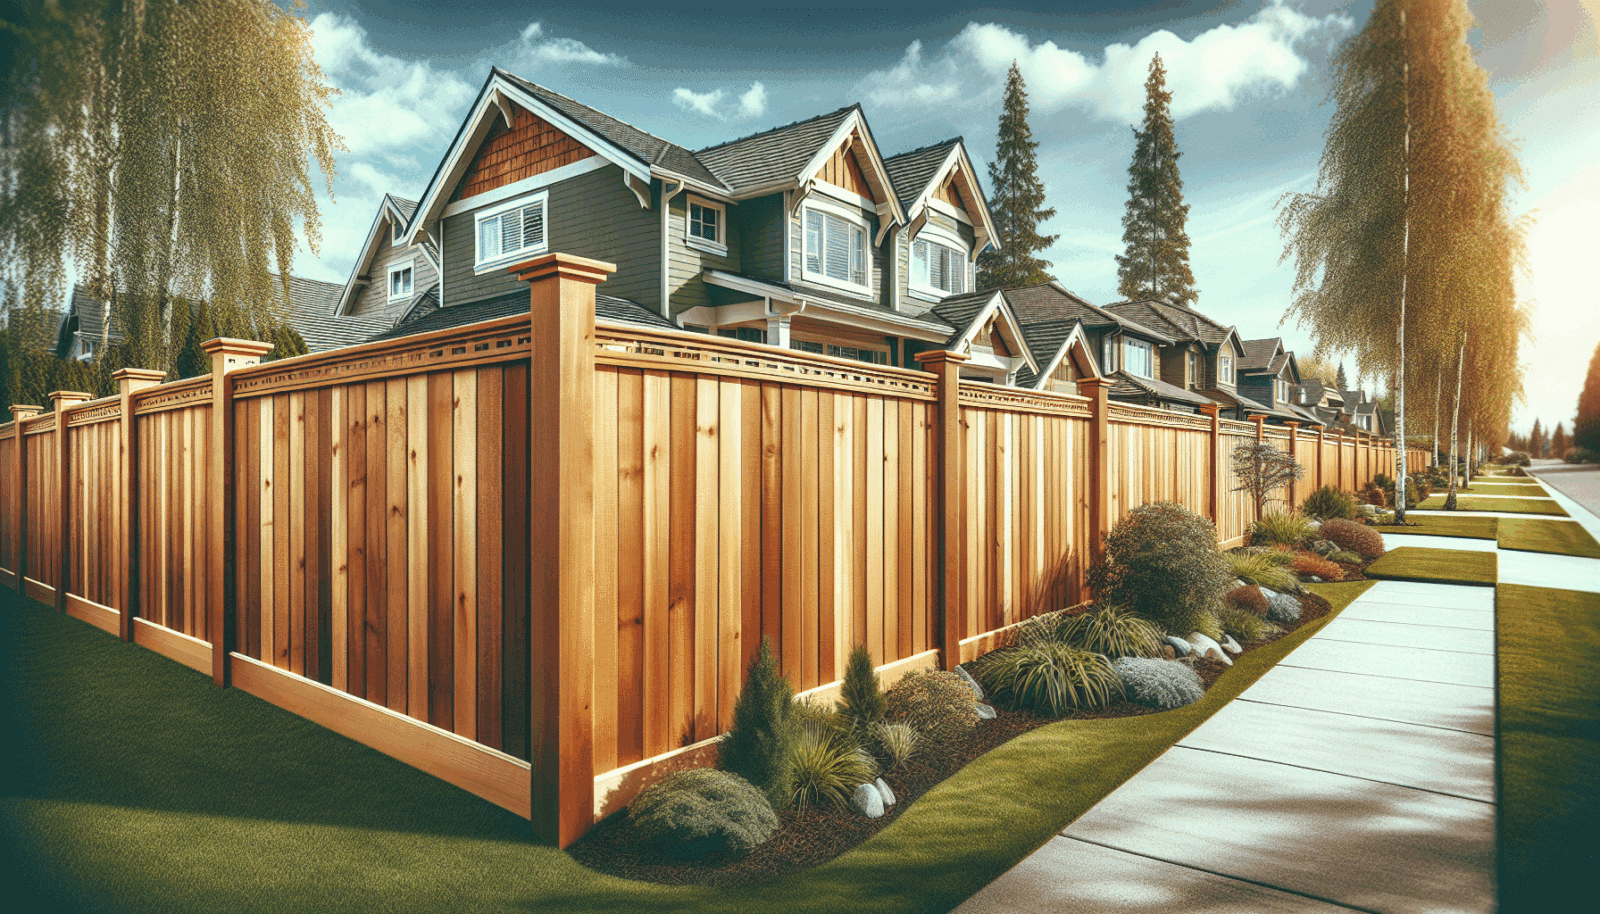
Many homeowners dream of enhancing the privacy, security, and aesthetic appeal of their property. Installing a Wood Fence is an effective way to achieve all these goals. At Savannah Gate & Fence, we understand that tackling such a project might seem daunting. That’s why we’ve put together this step-by-step guide to make the process as smooth and enjoyable as possible for residents of Savannah, GA, and the surrounding cities.
Contents
- 1 Understanding Your Needs and Choosing the Right Wood
- 2 Measuring Your Property and Planning Your Layout
- 3 Gathering Your Materials and Tools
- 4 Preparing the Area
- 5 Setting the Fence Posts
- 6 Attaching the Rails
- 7 Installing the Fence Boards
- 8 Finishing Touches
- 9 Maintenance and Upkeep
- 10 Need Professional Help?
- 11 Conclusion
Understanding Your Needs and Choosing the Right Wood
Before diving into the world of fencing, it’s crucial to understand why you’re installing a fence and what you expect from it. Are you looking for more privacy, or is it about adding a decorative touch to your home? Once your goals are clear, choosing the right type of wood becomes much easier. Cedar and redwood are popular for their durability and resistance to rot, making them excellent choices for any home.
It’s also important to consider your budget and maintenance capabilities. While some woods may be more cost-effective upfront, they might require more maintenance down the line. Take the time to weigh your options and choose the wood that best suits your needs and lifestyle.
Measuring Your Property and Planning Your Layout
Accurate measurements are the foundation of any successful fence installation. Start by measuring the perimeter of the area where you want to install the fence. It’s important to be as precise as possible to avoid any miscalculations that could affect the outcome of the project. Sketch a simple layout of your fence, noting any obstacles like trees or slopes that might affect installation.
During this phase, consider the placement of Gates and ensure that your design complies with any local zoning or homeowners’ association regulations. Proper planning at this stage can save you time, money, and headaches down the road.
Gathering Your Materials and Tools
Once your plan is in place, it’s time to gather the materials and tools you’ll need for the job. This includes your chosen wood, posts, concrete, nails or screws, and any decorative elements you plan to add. Don’t forget essential tools like a post hole digger, hammer or nail gun, saw, level, and measuring tape.
It can be helpful to create a checklist to ensure you have everything you need before you start. This proactive step can prevent unnecessary trips to the hardware store, keeping your project on track and within budget.
Preparing the Area
Preparation is key to a successful installation. Begin by clearing the fence line of any vegetation, rocks, or debris. This not only makes the installation process easier but also helps prevent future issues with your fence.
If you haven’t already, now is the time to mark the location of your posts. Use spray paint or stakes to clearly mark these spots according to your layout plan. Ensuring these markers are accurately placed is crucial for the structural integrity of your fence.
Setting the Fence Posts
Digging the post holes is one of the most labor-intensive parts of installing a wood fence, but it’s also one of the most important. Each hole should be about three times the width of your post and deep enough to bury at least one-third of the post height for stability. This ensures your fence can withstand wind and other elements.
After digging, fill each hole with about 6 inches of gravel for drainage, then place your post in the hole. Use a level to make sure it’s perfectly vertical before securing it with concrete. Allow the concrete to cure according to the manufacturer’s instructions before moving on.
Attaching the Rails
With your posts in place, it’s time to attach the horizontal rails that will support your fence boards. These rails are typically attached to the outside of the posts for privacy fences. Ensure they are level and evenly spaced according to your design.
For added stability, consider using screws instead of nails. Screws are less likely to pull out over time, keeping your fence secure and looking great for years to come.
Installing the Fence Boards
Now comes the part where your fence really starts to take shape. Beginning at one end, attach your fence boards to the rails using nails or screws. Be sure to leave a small gap between boards to allow for wood expansion and to prevent moisture entrapment.
Use a level to ensure each board is straight as you go. This attention to detail will give your fence a professional, polished look, enhancing the curb appeal of your home.
Finishing Touches
- Painting or Staining: Protect your new fence and give it a polished look by applying a coat of paint or stain. This not only enhances its appearance but also helps to extend its life by protecting against weather and insects.
- Gate Installation: If your fence includes a gate, carefully follow the manufacturer’s instructions for installation. Ensure the gate is level and swings freely without dragging on the ground.
- Landscaping: Once your fence is installed, take the opportunity to landscape along the fence line. Planting flowers or shrubs can add beauty and privacy to your new outdoor space.
- Regular Maintenance: Extend the life of your fence with regular maintenance, including checking for loose boards or posts and reapplying paint or stain as needed.
- Adding Decorative Elements: For an extra touch of personality, consider adding decorative post caps, lighting, or other elements that reflect your style.
Maintenance and Upkeep
While wood fences are beautiful and can add significant value to your home, they do require regular maintenance to stay in top condition. This typically includes inspecting the fence at least once a year for signs of damage, moisture, or insect infestation. Reapply paint or stain every few years to keep your fence looking fresh and to provide continued protection against the elements.
Additionally, make routine checks for loose nails or screws, and ensure that your gate is functioning correctly. Addressing small issues promptly can prevent more significant problems in the future, saving you time and money.
Need Professional Help?
While installing a wood fence can be a rewarding DIY project, it’s not for everyone. If you find yourself in over your head or simply prefer to leave it to the professionals, Savannah Gate & Fence is here to help. Our team of experienced professionals is dedicated to providing the highest quality installation Services in Savannah, GA, and the surrounding cities. With our premium materials and expert craftsmanship, your new wood fence will be something you can be proud of for years to come.
Remember, a well-installed wood fence can elevate the beauty and security of your home, making it a worthy investment. By following this guide, you’re well on your way to adding value and charm to your property. And if you encounter any challenges along the way, we’re just a phone call away.
Conclusion
We hope this guide has inspired you to embark on your wood fence installation project with confidence. Remember, whether you’re a DIY enthusiast or prefer professional installation, Savannah Gate & Fence is here to support you every step of the way. Contact Us today by phone at 912-800-0818 or Request a Free Quote for more information on how we can help enhance your property.


