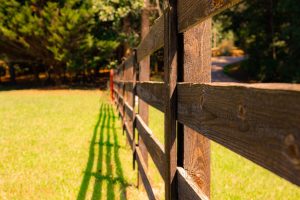
Welcome to Savannah Gate & Fence, where we love transforming simple wood picket fences into masterpieces. A fresh coat of paint or stain can breathe new life into your fence, but where do you start? In this guide, we’ll unravel the steps to make your fence the envy of the neighborhood. Whether you’re a seasoned DIY enthusiast or a first-time painter, this article will empower you with tips and tricks to achieve a professional finish.
Contents
Preparing Your Picket Fence
Before diving into painting or staining, preparation is key. Begin by assessing your fence for any damage or wear. Look for loose or broken pickets, as these will need attention before proceeding. Ensuring your fence is in tip-top shape sets the foundation for a lasting finish.
Next, clear the area around your fence. Remove any foliage, dirt, or debris that may obstruct your work. Keeping your workspace tidy not only makes the process smoother but also ensures an even application of paint or stain. Lastly, give your fence a good wash. A power washer or a garden hose with a scrub brush can remove dirt and old residue.
Choosing the Right Paint or Stain
The type of finish you choose transforms the look and longevity of your fence. If you’re deciding between paint and stain, consider the aesthetic and maintenance involved. Paint offers a vibrant, uniform appearance but requires more upkeep once it begins to chip. Stain, on the other hand, penetrates the wood for a more natural look and generally requires less maintenance.
When choosing a product, look for ones specifically designed for outdoor wood surfaces. These Products offer protection from the elements, ensuring your fence remains beautiful for years to come. Don’t forget to consider the color. Whether you opt for a bold color or a subtle shade, ensure it complements your home’s exterior.
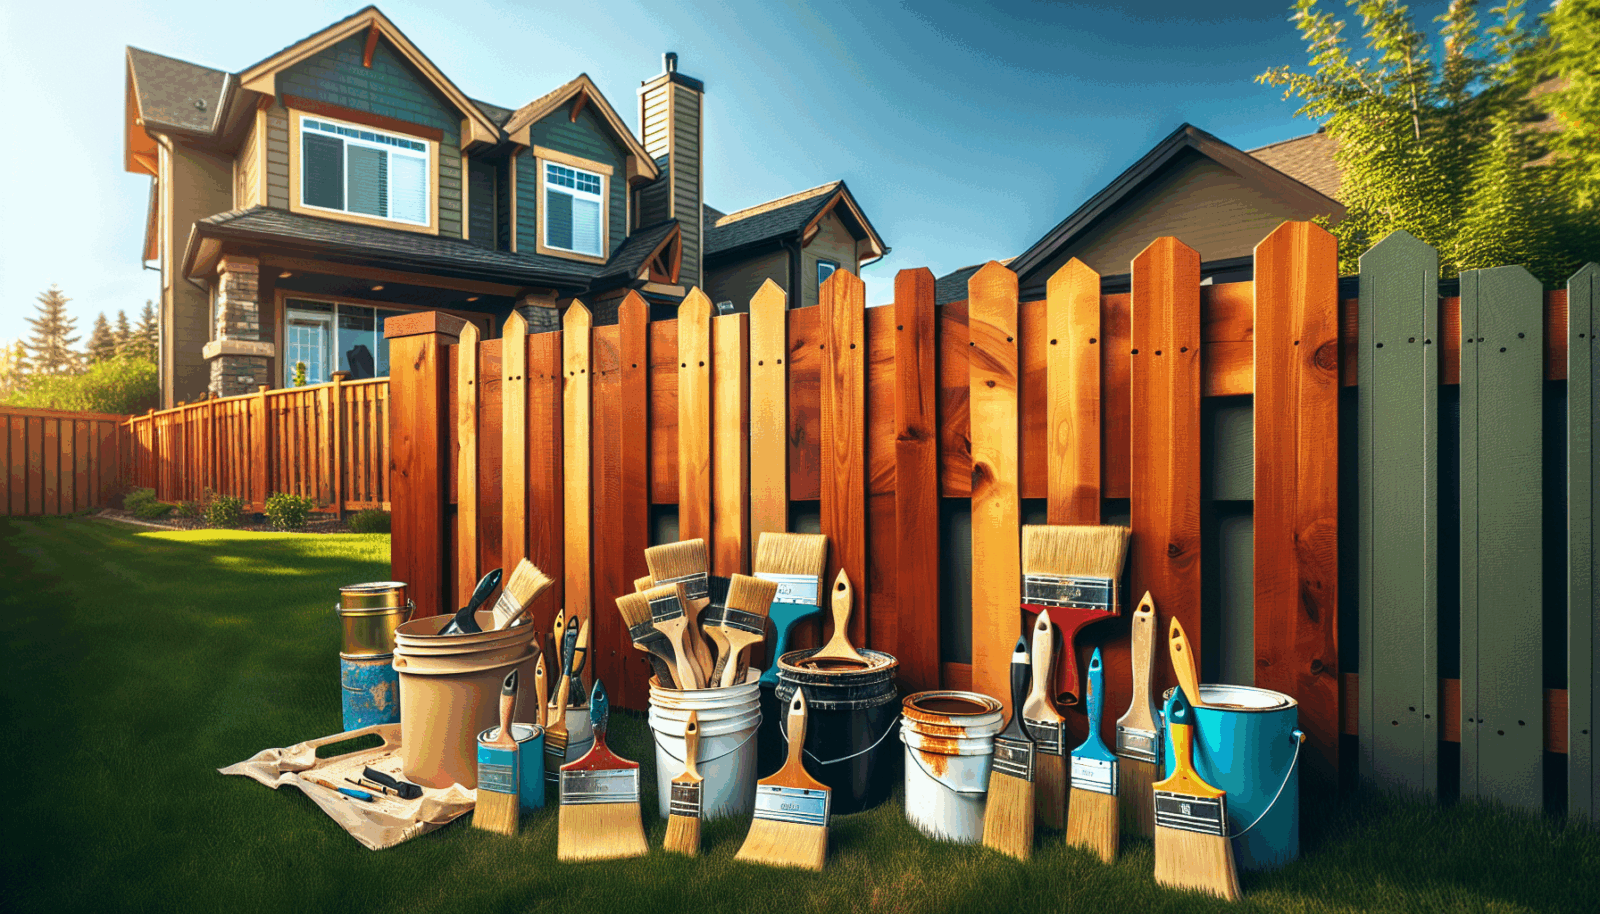
Gathering Your Tools
Let’s talk tools! Having the right equipment makes the project more manageable and enjoyable. With the essentials at hand, you can work efficiently and achieve a professional finish.
- Paintbrushes: Opt for quality brushes designed for outdoor finishes. They provide smooth, even coverage for paint and stain.
- Rollers: Use rollers for larger, flat surfaces. They speed up the application process, allowing you to cover more area quickly.
- Painter’s Tape: This is great for protecting areas you don’t want to paint or stain, ensuring clean, crisp lines.
- Drop Cloths: Protect your surrounding area from accidental drips and spills with durable drop cloths.
- Sandpaper: Smooth out any rough patches on your fence with medium to fine-grit sandpaper. This ensures an even application surface.
Sanding Your Fence
Before painting or staining, sanding is essential. It helps to create a smooth surface to which the finish can adhere properly. Start with a medium-grit sandpaper to tackle any rough spots or old paint, then switch to a finer grit for an even finish. Sanding not only enhances adhesion but also brings out the natural beauty of the wood grain.
Be thorough but gentle during this process. Over-sanding can damage the wood, while under-sanding may lead to an uneven finish. Once sanded, clean the surface again to remove any dust particles.
Applying Primer
Priming your fence is a crucial step if you’re planning to paint. Primer provides a stable base for the paint, enhancing its appearance and longevity. Choose a primer designed for outdoor wooden surfaces to guard against weather conditions.
Apply the primer evenly using a brush or roller, reaching all nooks and crannies. Allow it to dry thoroughly before moving onto the painting stage. Skipping primer can lead to increased maintenance in the future as the paint may not adhere as securely.
Painting Your Picket Fence
It’s time to add some color! Start by painting the pickets, moving in long, even strokes from the top to the bottom. This technique helps prevent streaks and ensures full coverage. Consider using a small brush for tight areas to maintain a neat appearance.
If you’re using a roller, apply paint liberally and back-brush the area to smooth out roller marks. Two coats are often necessary for optimal coverage. Be sure to let each layer dry completely to prevent smudging and running.
Staining Your Picket Fence
Staining offers a more natural finish and involves a slightly different approach. Begin by stirring the stain to mix the pigments evenly. Use a brush or staining pad to apply the stain in the direction of the wood grain for a uniform look.
Let the stain penetrate the wood for a few minutes before wiping away the excess with a clean cloth. This process highlights the wood’s natural characteristics, lending an elegant touch to your fence.
Sealing the Finish
Sealing your paint or stain adds an extra layer of protection against the elements. It helps retain the color and guards against moisture, mildew, and UV rays. Choose a sealant that complements your finish for the best results.
Apply the sealant in even strokes, ensuring you cover all areas of the fence. Allow it to dry thoroughly for a durable and weather-resistant finish. Sealing might seem like an extra step, but it truly preserves the work you’ve put in.
Maintaining Your Fence
Now that your fence looks fabulous, let’s keep it that way! Regular maintenance ensures longevity and keeps the colors looking fresh. Periodically wash your fence to remove dirt and grime. Touch up any small areas where the finish may have worn away.
If you’ve gone with paint, be on the lookout for chipping or peeling. A quick touch-up will keep it looking pristine. For stained fences, reapplication every few years maintains that rich, natural appearance. Regular upkeep saves time and effort in the long run, keeping your fence picture-perfect.
At Savannah Gate & Fence, we’re here to help bring your fence dreams to life. If you need professional assistance or more tips, don’t hesitate to Contact Us by phone at 912-800-0818 or Request a Free Quote.
Learn more about our wood fence installation in Savannah or explore all our fence services in Savannah.